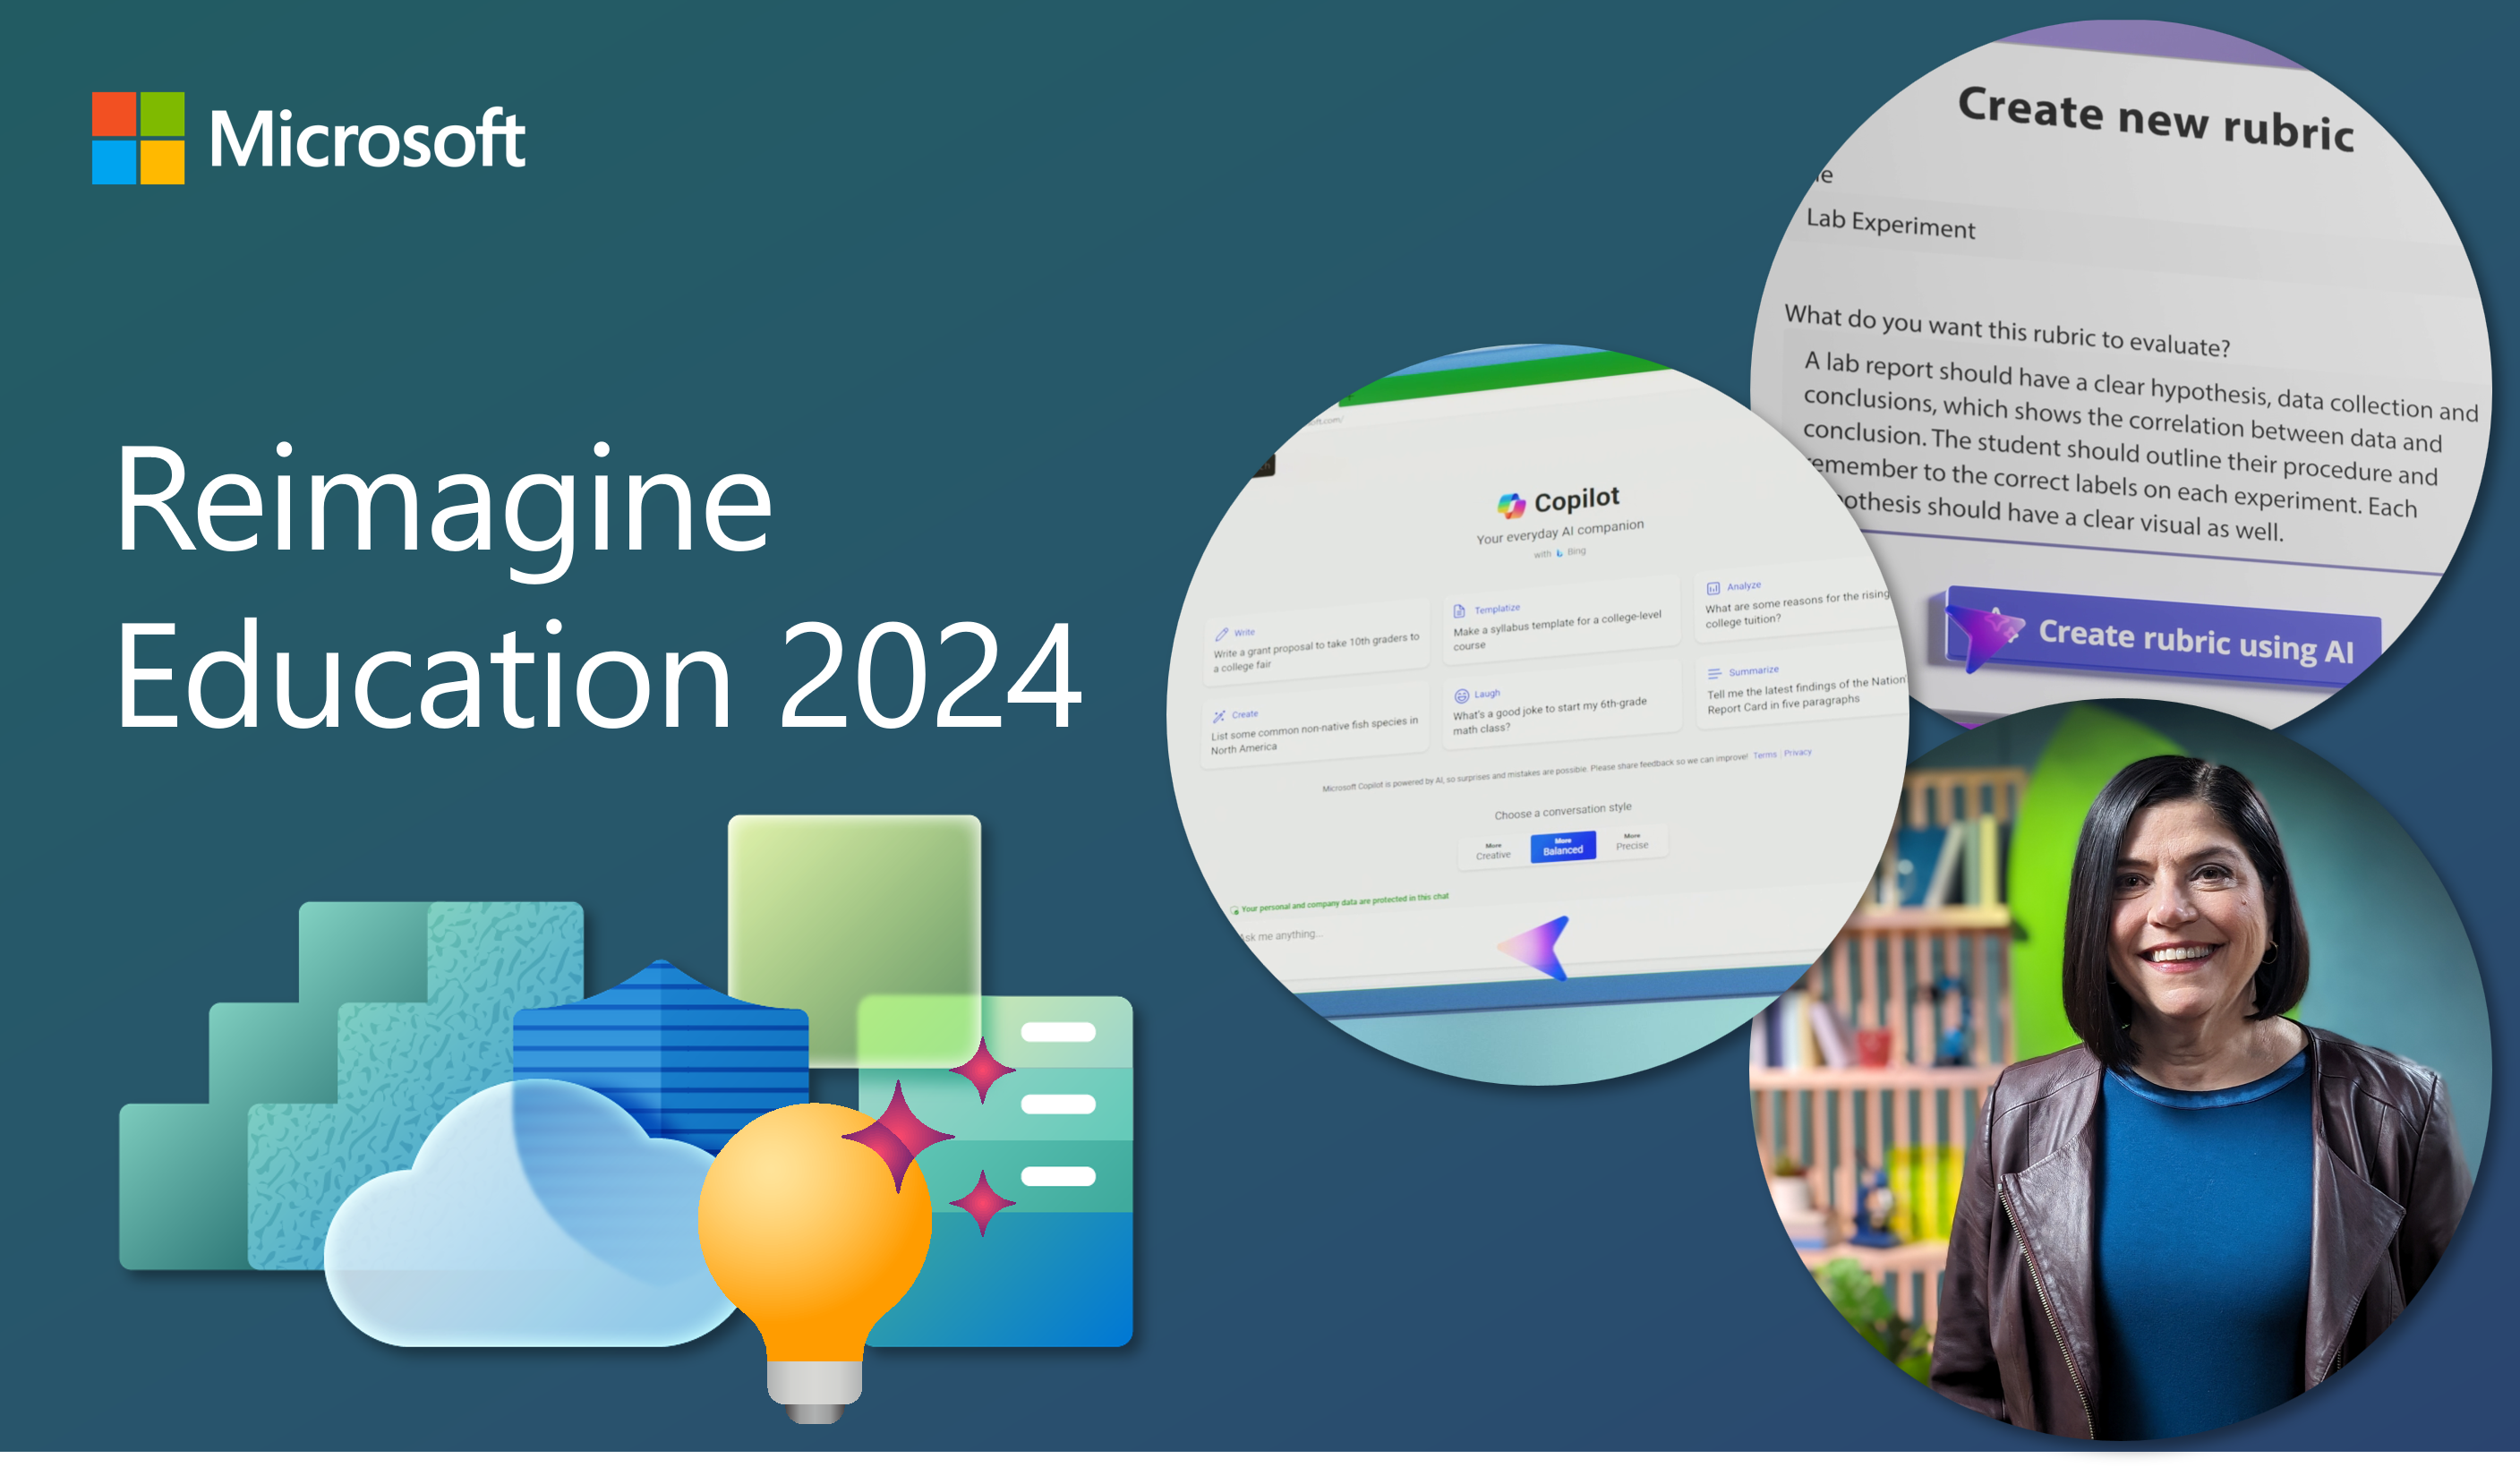
Empowering student voice with Flipgrid
With its focus on empowering student voice, Fligrid has made huge waves in the education community. Teachers around the world have caught Flipgrid fever! That’s part of the reason we’ve been so eager to partner with this amazing organization to better serve students. If you’re new to Flipgrid, Canadian Learning Development Specialist Vance Beblow has a quick how-to guide to help you get started!
***
In education, student voice refers to the values, opinions, beliefs, perspectives, and cultural backgrounds of individual students and groups of students in a school. It describes how students provide their input on what happens within the school and classroom. Our desire is for students to know that their expertise, opinions, and ideas are valued in all aspects of school life. Student voice permeates all levels of our work together, from students participating in small group conversations to partnering in curriculum design or establishing school norms and policy. It takes many forms, accounting for students’ choices, interests, passions, and ambitions. This can also affect choices over learning content, products, and processes we use in the classroom. Students might also write stories for their school or community newspapers, or they could blog about their opinions and experiences in school.
One way that student voice can be shared in the classroom is Flipgrid. If you haven’t used it before, Flipgrid is an active social learning platform that engages learners through video-based discussion. The app extends the web-based environment and creates new possibilities for reflection, discussion, demonstration, and collaboration.
Today, I want to help you get started and create a grid! The great thing about Flipgrid is that it’s laid out very simply, and it’s very easy to use. Once you’re signed in, the first thing is to do is click on New Grid.
The Grid Launchpad will open, with three grid types to choose, based on who you want to to have access to the grid: just people with your school’s email domain, the IDs of particular students that you set up yourself, or a grid that’s open to the anyone. Select the category that best fits your needs and click Next. Depending on your grid type, there’ll be slightly different instructions, but Flipgrid will guide you through what you need to do!
Now we’re into the good stuff. Whenever you add a new grid, it automatically creates an intro topic. This is a nice way to get students familiar with the ecosystem and then do some heavy lifting with the topic you’re about to create. To add more topics and get more responses, begin at the “My Grids” tab, select the name of the grid you would like to add a topic to, and select New Topic. Be sure to adjust the video response time, since this will help keep your students focused.
Turning video moderation on allows you to curate the videos that are being created and make sure that the material covered is appropriate and on-topic.
The Topic Resource option is a fun and lighthearted way to add some character to the topic your class will be covering. Along with that, adding topic attachments allows you to provide more resources and have the students seek out a deeper understanding of the topic.
Another great feature is the selfie decoration that allows students to have some fun with their videos!
You can also choose feedback settings that help you provide just the right guidance to students.
Once everything has been filled out and the topic has been created, you’re practically finished! You just have to share the link with students through a OneNote page or anywhere else you’d like to make it available.
And that’s it! Now your students are ready to start sharing their voice and engaging in the kind of discussion that makes a classroom come alive. Best of luck in all of your Flipgrid adventures!
***
Vance Beblow is the Microsoft Learning Development Specialist for Alberta and Saskatchewan. You can reach out to him directly on Twitter or via email for any edtech support you might need. There’s a whole team of Learning Development Specialists available to teachers all across Canada. Read about their work, how they can support your teaching, and how you can get in touch with them. You can access free PD from any of our certified training partners at microsoft.ca/education. Curious about what’s in store for the future of today’s students? Access Microsoft’s cutting-edge research on the Class of 2030.